
When it comes to protecting your property, security fencing is a reliable barrier that deters intruders and provides peace of mind. If you’re considering installing security fencing, this article is designed to guide you through the process. While professional installation is recommended to guarantee the highest security and quality standards, a knowledgeable DIY enthusiast can tackle this task with careful preparation and attention to detail.
Planning and Preparation
Assess Your Needs
Before you begin, assess your property to determine the scope and type of fencing required. Consider factors such as the size of the perimeter, potential threats, local building codes, and aesthetics.
Choose the Right Fencing
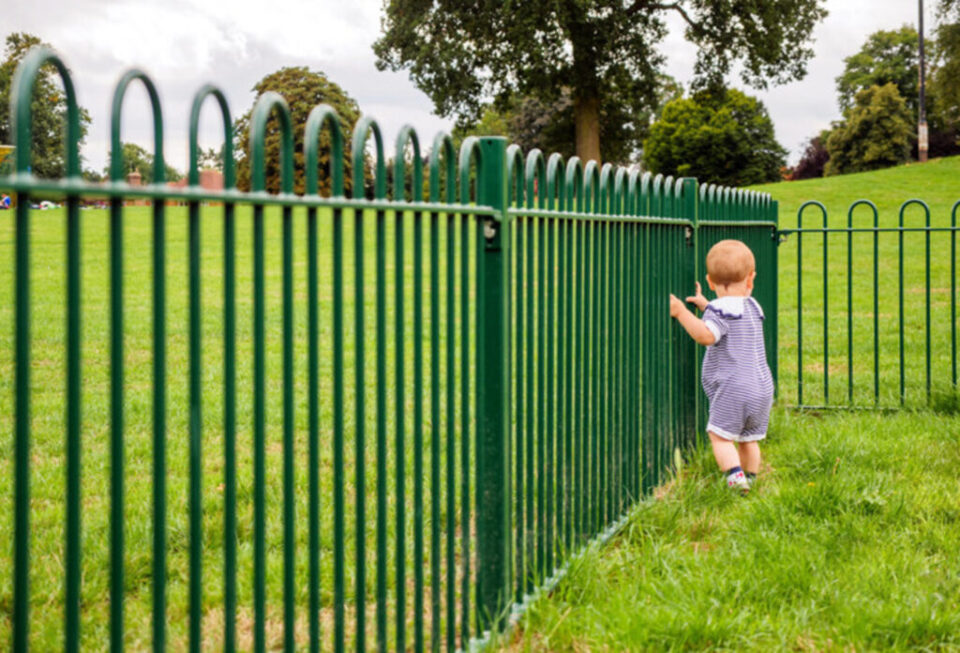
Select a security fence that suits your needs. High, sturdy fences made of steel or wrought iron are common choices. You may also consider additional features such as spikes or anti-climb paint for enhanced security.
Gather Materials and Tools
Once you’ve chosen your fencing, you’ll need to gather all materials, which include the fence panels, posts, postcrete or concrete, bolts, and brackets. For tools, you’ll typically need a post hole digger, spanners, a level, a tape measure, and possibly a drill.
Mark Your Boundary
Clearly mark the boundary where the fence will be installed using string lines and stakes to ensure a straight and even fence line.
Installation Steps
Step 1: Dig Post Holes
Start by digging holes for the fence posts. The holes should be three times the width of the post and deep enough to anchor the fence against strong winds and impacts (usually at least 600mm deep).
Step 2: Secure the Posts
Place the first post into the hole, ensuring it is vertical and aligned with your boundary markers. Use braces to hold the post upright if necessary. Fill the hole with postcrete or concrete and allow it to set according to the manufacturer’s instructions. You can search on Google Stock Fencing Hampshire to seek help from the Hampshire area professionals.
Step 3: Attach Fence Panels
Once the first post is set, attach your fence panels to the post using brackets and bolts. Ensure the panels are level before securing them in place.
Step 4: Continue the Fence Line
Repeat steps 1 to 3 for the next posts and panels, checking alignment and level as you go along. Make sure each panel is securely attached to the previous post before moving on to set the next post in place.
Step 5: Finishing Touches
After your fence is installed, perform any finish work necessary, like painting or adding anti-climb measures. Inspect the entire fence to ensure there are no gaps or weak points.
Safety and Tips
Safety Gear
Always wear the appropriate safety gear, such as gloves and safety glasses, when working.
Check Utilities: Before digging, make sure you know where all underground utilities are located to avoid accidents.
Regulations
Familiarize yourself with local laws and regulations regarding fencing – you might need a permit for installation.
Professional Help
For high-security needs or complex installations, it’s best to hire professional installers.
Conclusion
Installing security fencing requires careful planning, physical labour, and attention to detail. By following this guide, you can ensure a secure and proper installation.
However, remember that security is paramount, and professional services could provide the expertise and warranty that DIY lacks. Whether you do it yourself or hire a professional, a well-installed security fence is a solid step towards safeguarding your property.
Remember, your security fence is only as strong as its weakest point, so take the time to install it right! If you’re uncertain at any stage of the process, don’t hesitate to consult with or hire a professional.